
Two contractors can look at the same slab and come back thousands apart. That gap is almost never profit margin — it’s a different floor being quoted. Here’s what sits behind the number, so you can read a quote instead of guessing at it.
The short answer: the price of an epoxy floor in Brisbane is decided by four things, in this order — the condition of your existing concrete, the system specified on top of it, the total area and how broken up it is, and how much of your operation has to stop while we work. The coating itself is usually the smallest of those. Surface preparation alone typically accounts for a quarter to nearly half of the whole job.
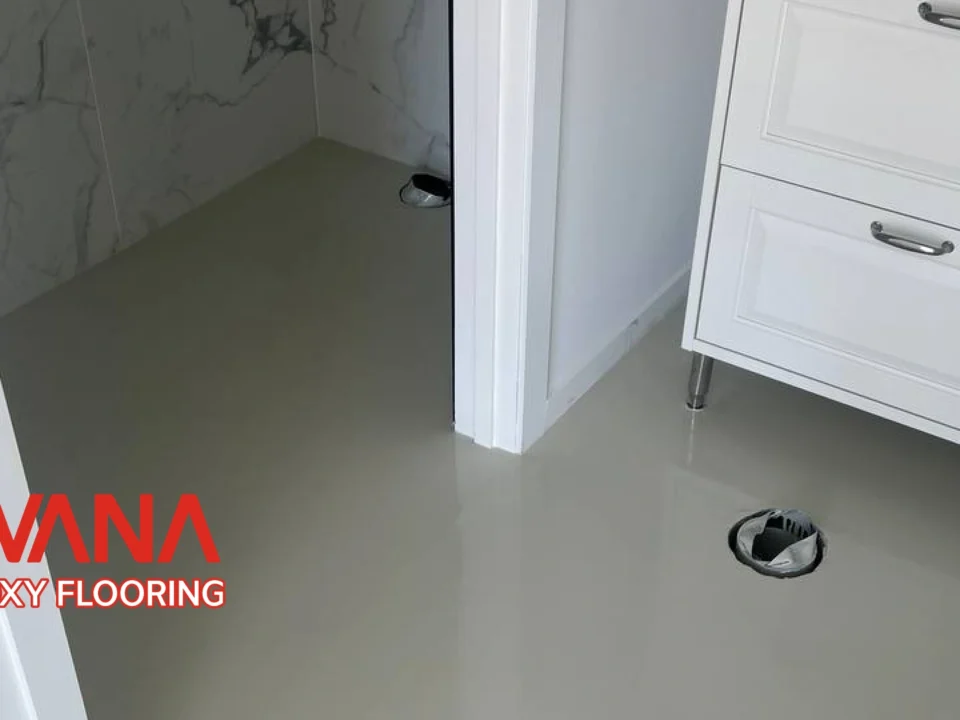
That’s why nobody can price your floor over the phone honestly, and why the cheapest quote and the dearest quote on the same garage are often describing genuinely different floors — one with mechanical grinding, a primer and a proper topcoat, one without.
Why we don’t publish a per-square-metre rate
It would be easy to put a number at the top of this page. We don’t, for one reason: on this kind of work, a published rate is almost always wrong by the time we’ve looked at the floor.
Two garages of identical size can differ by more than half. One has a clean, sound, 2015 slab. The other has a burnished surface that won’t take a coating without heavy grinding, two structural cracks, a patch of oil that’s soaked in for a decade, and no vapour barrier under it. Quoting both at the same rate means either overcharging the first customer or losing money on the second — and in practice it means the second floor gets a thinner, cheaper system to protect the margin. That’s how floors fail.
So instead of a number, this page gives you the structure behind the number. By the end you’ll know which questions to ask, what each answer does to the price, and whether the quote in your inbox is complete.
Where the money in an epoxy quote actually goes
People assume they’re mostly paying for resin. They’re mostly paying for the work that happens before any resin comes out of the tin.
| Component | Share of the job | What it covers |
|---|---|---|
| Surface preparation and repair | 25–40% | Diamond grinding or shot blasting, crack and joint repair, patching, dust extraction, vacuuming to a clean profile |
| Materials | 25–35% | Primer, body coats, flake or aggregate, topcoat, additives |
| Application labour | 20–30% | Mixing, rolling or squeegeeing, broadcasting, cutting in, return visits between coats |
| Detailing | 5–15% | Coving, drain surrounds, colour changes, line marking, edges and thresholds |
| Site setup and mobilisation | 5–10% | Machinery transport, masking and protection, waste disposal, site clean |
The practical consequence: a quote that comes in dramatically low has almost certainly cut into the first row. That’s the row you can’t see once the floor is finished, and the row that decides whether it’s still bonded in five years.
What each system costs, relative to the simplest one
Rather than quote rates, here’s the comparison that’s actually useful when you’re choosing a finish. A plain solid-colour epoxy on sound concrete is the baseline. Everything else is expressed as a multiple of that.
| System | Relative cost | Why it costs more |
|---|---|---|
| Solid colour epoxy, two coats | 1× — baseline | Fewest passes, least material, no broadcast stage |
| Full flake system + polyurethane topcoat | 1.5–1.9× | Extra broadcast and back-roll stage, flake material, a scrape-back, plus a separate topcoat |
| Full flake system + polyaspartic topcoat | 1.8–2.2× | As above with a higher-cost, faster-curing, UV-stable topcoat |
| Metallic / decorative epoxy | 2.2–3× | Premium pigments, skilled hand-working of the effect, unforgiving of error, clear topcoat over it |
| Self-levelling epoxy, 3–5 mm | 2.2–3.2× | Many times the material volume, priming and levelling, tight working window |
| Quartz broadcast or epoxy mortar | 3–4.5× | Heaviest build, aggregate, trowel application, multiple days |
| The same solid-colour system over a very large area | 0.7–0.9× | Cheaper per metre — fixed costs spread further and larger machinery becomes viable |
Read that table with your budget in mind and one rule: if money is tight, simplify the decorative layer, never the build. Dropping from metallic to flake is a sensible saving. Dropping the primer or the topcoat to afford metallic is not.
What the optional items add
These are the extras that appear on quotes and confuse comparisons. Expressed as roughly what they add to a job that needs them:
- Moisture-tolerant primer or vapour barrier — adds meaningfully to the coating component, often a fifth to a third. Non-negotiable on a slab that tests wet.
- Crack, joint and divot repair — priced by lineal metre. Commonly 5–15% of the job on a slab over fifteen years old.
- Coved skirting — 10–20% on a food-premises floor, and usually a compliance requirement rather than a choice.
- Anti-slip additive or textured topcoat — adds roughly 10–20%. Mandatory in most wet and external areas.
- Removing a failed coating, tiles or adhesive residue — the single biggest variable. Can add 30–60% before any new system goes down.
- Line marking and safety zones — priced by lineal metre; typically under 10% of a workshop job.
- After-hours, weekend or staged work — 15–30%, because it buys you the ability to keep trading.
Every figure on this page is a proportion, not a price. For an actual number on your floor, we measure it, test it and put it in writing — get a free on-site quote.
The seven things that move your price
1. What’s on the slab right now
Bare, sound, broom-finished concrete is the cheapest possible starting point. Old tiles, carpet glue, a failed single-pack paint from a previous owner, or a power-trowelled slab burnished almost to a polish all add preparation hours before anything improves. Coating straight over existing tiles is sometimes viable and sometimes a false economy — it depends entirely on whether every tile is still firmly bonded.
2. Moisture in the concrete
The most expensive thing that can happen to an epoxy floor is being installed over a slab still moving moisture upward. It doesn’t fail on day one. It fails in month six as blisters or delamination, and then it’s paid for twice. Testing costs very little relative to the job. Our page on epoxy on wet and moisture-affected concrete covers the systems designed for it.
3. Area — and how broken up it is
Larger floors cost less per metre. But a floor split across six rooms with thresholds, cupboards and fixed shelving costs more than the same total area in one clear span, because cutting in by hand is slow and can’t be mechanised.
4. The system you choose
A flake floor and a metallic floor need the same preparation and the same primer. The difference is materials, the number of passes, and how much skill the finish demands. See the relative-cost table above for how those choices compare.
5. Downtime and access
Working nights or a weekend around a trading kitchen or an operating plant costs more than a straight weekday run. First-floor car parks, tight residential access and stair-only access all add labour. So does staging a floor in halves to keep you open — that’s a real cost, and often a worthwhile one.
6. Slip resistance and compliance
Commercial floors frequently have to achieve a documented slip-resistance classification. Specifying to AS 4586, the Standards Australia slip-resistance classification, and to whatever your certifier requires under the National Construction Code, changes the topcoat and adds cost. In a commercial fitout it isn’t optional.
7. Detailing
Coving, drain surrounds, plinths, bunding, colour changes, safety zones and line marking in Brisbane are measured and priced separately. On commercial work they’re often a tenth to a fifth of the job — and they’re the first items quietly dropped from a lowball quote.
Why preparation costs what it does
Epoxy doesn’t hold because it’s sticky. It holds because it penetrates an open, mechanically profiled surface and keys into it. Get that stage wrong and no product on the market rescues the floor.
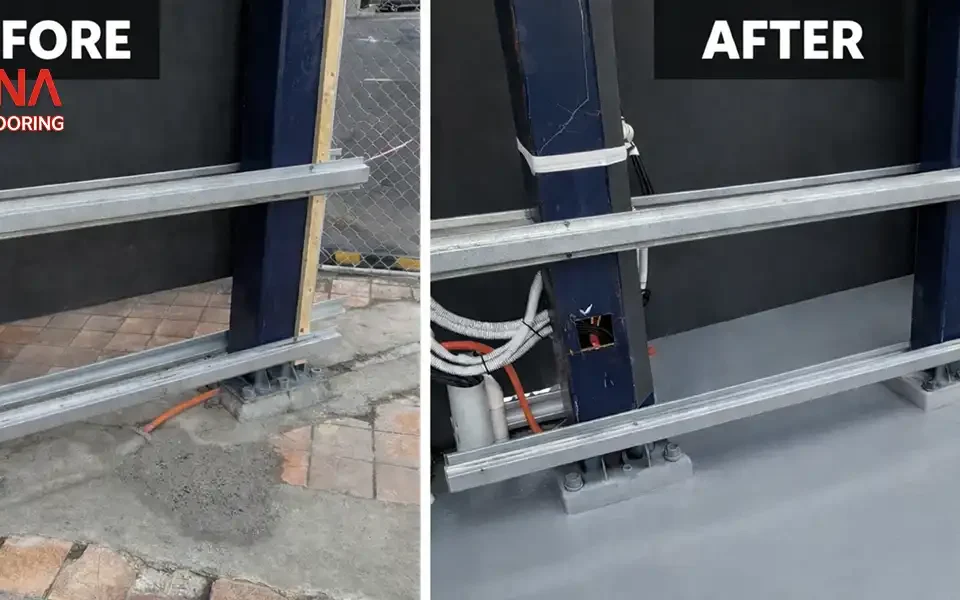
Proper preparation means diamond grinding or shot blasting to open the surface, vacuum extraction to a genuinely dust-free finish, repairing cracks and joints, and priming. On a typical Brisbane garage that’s most of the first day — before a single litre of colour goes down. It’s also the honest explanation for a large gap between two quotes: one includes grinding, the other includes a degreaser wash and an acid etch. We’ve written the method up in full in how concrete is prepared before coating.
Rule of thumb: if preparation isn’t shown as its own priced line on your quote, you are not comparing like with like.
The Brisbane factor: humidity, heat and slab moisture
This is the part that makes a Brisbane quote different from a Melbourne one, and it isn’t marketing. According to the Bureau of Meteorology’s Brisbane climate averages, mean 9am relative humidity here sits between 56% and 70% in every month of the year, and mean maximum temperatures run from 22.0°C in July to 30.4°C in January.
Three practical consequences for what a floor costs:
- Pot life shrinks in the heat. A mix giving forty minutes of working time in July might give twenty in January. More mixes, more hands on site, more labour in the quote — or a job scheduled for a cooler part of the year.
- Humidity affects cure and finish. Coatings applied outside a product’s stated humidity limits can blush or bloom. A contractor who reschedules rather than pushes on is protecting your floor, and that flexibility is worth more than a slightly lower price.
- Plenty of local slabs were poured without an effective vapour barrier. On those, a calcium chloride test to ASTM F1869 or an in-slab relative humidity probe is the cheapest insurance in the whole project.
Where we quote
We measure and install across greater Brisbane — the CBD and inner suburbs, the northside through Chermside, Geebung, Northgate and Brendale, the southside through Coorparoo, Carindale, Rocklea, Archerfield and Acacia Ridge, the industrial belt at Eagle Farm, Murarrie, Darra and Wacol, and out to Ipswich, Logan, Redlands and Moreton Bay. Outside that ring, ask — we travel for larger commercial floors.
Why a small floor looks expensive per square metre
Part of every job is fixed. The truck, the grinder, the dust extraction unit, the site setup, the masking, the return visits between coats and the final clean cost close to the same whether the floor is a small laundry or a double garage.
That fixed component is why most Brisbane installers, including us, have a practical minimum job size — and why a very small area can approach the cost of something several times larger. The useful conclusion is not “small floors are overpriced”. It’s this: if you’re likely to coat an adjoining space within the next year or two, price it now and do it in the same visit. One mobilisation instead of two is the largest single saving available to a residential customer, and it costs you nothing but timing.
Why one quote is thousands below another
It happens constantly. The difference is almost never margin. It’s usually some combination of:
- Single-pack paint instead of a two-part, 100% solids system. Cheaper per litre, thinner film, shorter life.
- Acid etch instead of mechanical grinding. Much faster, far less reliable on dense or contaminated concrete.
- No primer. Saves a coat and a day, costs adhesion.
- No moisture testing. A gamble taken with your money, not theirs.
- A thinner topcoat, or none at all. The topcoat is what resists UV, hot-tyre pickup and abrasion.
- No licensing or insurance behind the work. You can check any Queensland contractor yourself through the QBCC licence register before you pay a deposit.
None of this means the cheapest quote is always the wrong one. It means you need to know which of those six things you’re buying. Our guide on how to choose an epoxy flooring contractor lists the questions that separate them.
Judge it on cost per year, not cost per metre
The rate is the wrong comparison. Service life is the right one. A floor that costs half again as much and lasts three times as long is the cheaper floor, and it’s also the one you don’t have to shut your business down to replace.
| Option | Relative install cost | Realistic service life | Ongoing cost |
|---|---|---|---|
| Solid colour epoxy | 1× | 5–10 years, traffic dependent | Low; earlier recoat |
| Flake system with a quality topcoat | 1.5–2.2× | 10–15 years indoors | Low; sweep and mop, one topcoat refresh |
| Grind and seal / polished concrete | 1.2–2.5× | 15–20 years | Periodic resealing |
| Tile | 1.5–3× | 15–25 years | Grout cleaning, cracked tile replacement |
| DIY kit from a hardware store | 0.15–0.3× | 1–3 years, commonly less | High — full removal before recoating |
Epoxy wins on seamlessness, chemical resistance, hygiene and speed of installation. Polished concrete wins on longevity where the existing slab is good enough to polish. Tile wins on heat and scratch tolerance in some settings. Which is right depends on the slab you already own — which is the whole reason we look before we price.
How to read an epoxy flooring quote
A quote you can genuinely compare shows all of the following. If a line is missing, ask for it in writing before you decide.
- Measured area in m², plus lineal metres for coving and marking.
- Preparation method — grinding or blasting, and how many passes.
- Moisture testing — whether it’s included, and to what method.
- Named products for primer, body coats and topcoat. Not just “epoxy”.
- Total build — coats, and film thickness in microns or millimetres.
- Crack and joint treatment, itemised separately.
- Slip-resistance outcome where it’s required, stated as a classification.
- Timeline, including how long before foot traffic and before vehicles.
- Warranty — its length, and specifically what it covers.
- Exclusions — above all, what happens and what it costs if the slab tests wet.
Two quotes with all ten lines filled in can be compared in five minutes. Two quotes with a single total each can’t be compared at all.
What changes by type of space
Different spaces carry different requirements, and those requirements are most of the price difference between them.
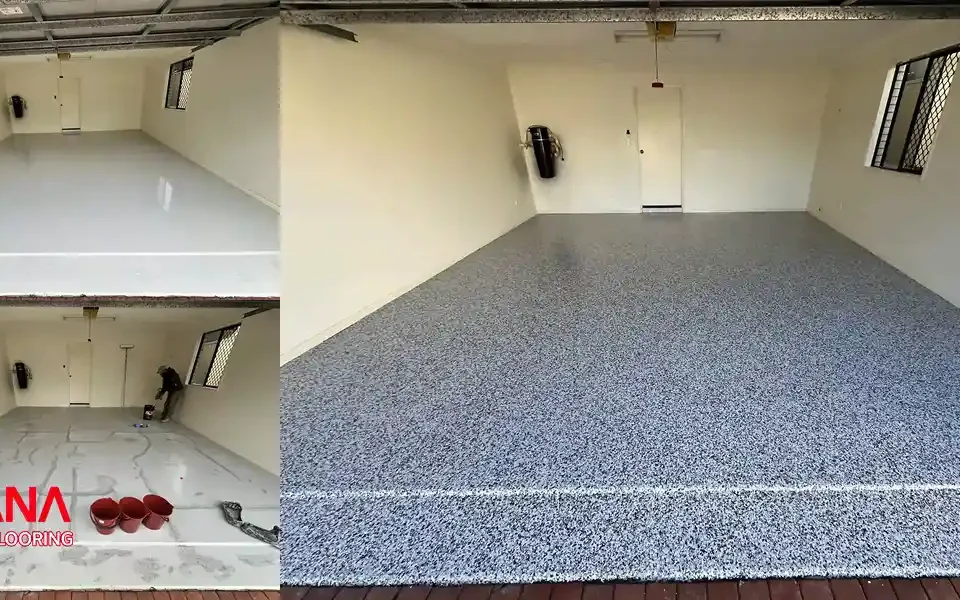
- Garages. Flake is the usual choice because it hides dust and resists hot-tyre marking — epoxy garage floors in Brisbane.
- Driveways and outdoor areas. UV-stable topcoats and anti-slip are not optional, so budget above the interior equivalent — driveway epoxy coating.
- Homes and interiors. Levelling and edge detailing drive the price more than the coating does — epoxy flooring for homes and epoxy inside living areas.
- Workshops and mechanical trades. Chemical and impact resistance, plus marked safety zones — workshop floors.
- Food premises. Coving, falls to drainage and a cleanable seamless finish, specified to suit the Food Standards Code — commercial kitchen floors.
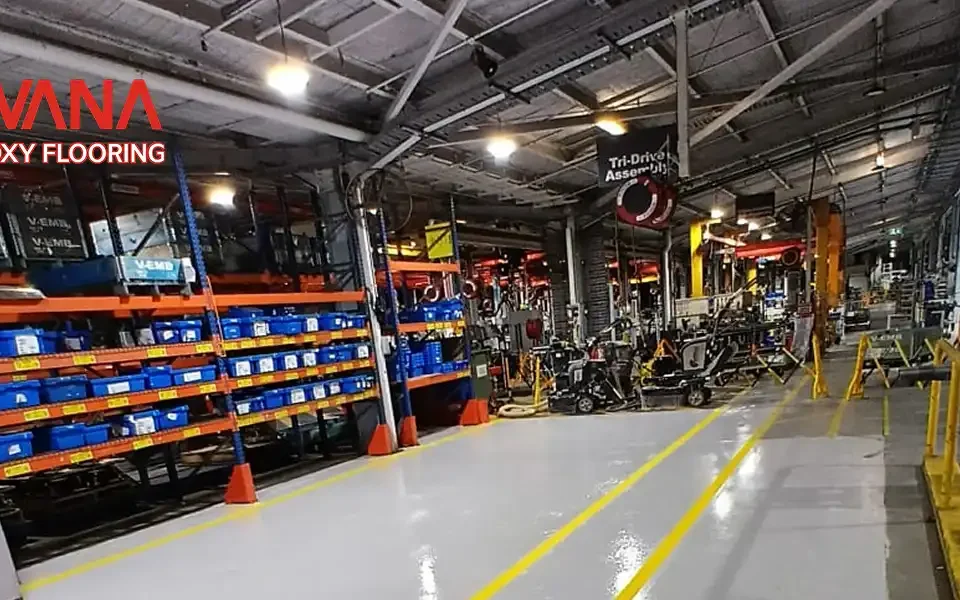
- Manufacturing and plant. Heavier build, forklift traffic, sometimes anti-static — industrial epoxy flooring and warehouse floors.
- Slabs needing rebuilding as well as coating — epoxy cement floor systems.
You can see finished work across most of these in our recent Brisbane projects, and the full range on our epoxy flooring services page.
Five ways to spend less without wrecking the floor
- Combine areas into one visit. One mobilisation, one setup, one price break. The biggest saving on the list.
- Be flexible on timing. Spring and early summer are the busiest quarters here. Cooler-month scheduling is often easier on price and better for curing.
- Clear the space yourself. Cars, shelving, stock and pallets moved before we arrive is labour you don’t pay for.
- Simplify the finish, not the build. Step down from metallic to flake, or reduce flake density. Keep the primer and the topcoat.
- Fix the leak and the drainage first. Coating over an active water problem guarantees paying twice.
For the wider picture on systems, finishes and process, our full guide to epoxy flooring in Brisbane goes deeper, and epoxy line marking explained covers the marking side in detail.